Valve stiction. Analyser drift. Premature bearing wear. Surface defects on precision components. These symptoms are frustrating and costly — but they are rarely random. In the majority of cases, a systematic investigation traces the root cause back to one place: upstream filtration that has failed silently.
This guide walks through a structured diagnostic approach for engineers and maintenance teams who suspect that gas contamination — oil aerosols, particulate, moisture, or hydrocarbons — is the hidden driver behind recurring downstream equipment failures.
Why Upstream Filtration Fails Without Warning
A filter housing can appear perfectly functional while delivering contaminated gas. The most common failure modes are gradual and invisible to routine visual inspection:
- Element saturation: A coalescing element that has reached its liquid-holding capacity begins to re-entrain oil droplets downstream. There is no alarm — just a slow increase in contamination.
- Bypass due to seal degradation: O-ring or gasket failure allows unfiltered gas to bypass the element entirely. This is especially common when seal materials are mismatched to the process gas or temperature.
- Channelling: In high-flow applications, gas can channel through a partially blocked element, concentrating flow through a narrow path and reducing effective filtration area.
- Incorrect element grade: A particulate element installed where a coalescing element is required will pass liquid aerosols freely — with no indication of the error.
Each of these failure modes produces a characteristic contamination signature downstream. Learning to read those signatures is the foundation of effective root cause analysis.
Step 1 — Map the Symptom to a Contamination Type
Before opening any filter housing, correlate the downstream symptom with the most likely contaminant class. This narrows the investigation significantly.
| Downstream Symptom | Likely Contaminant | Filter Stage to Inspect |
|---|---|---|
| Valve stiction / sluggish actuation | Oil aerosol or particulate | Coalescing element (RF-C grade) |
| Analyser drift / baseline shift | Hydrocarbon vapour or moisture | Adsorption stage (RF-AC or RF-DIA) |
| Bearing wear / surface scoring | Hard particulate ≥ 1 µm | Particulate element (RF-P grade) |
| Corrosion / pitting on metal surfaces | Liquid water or acid condensate | Coalescing + drain function |
| Orifice blockage / flow restriction | Solid particulate accumulation | Pre-filter particulate stage |
Step 2 — Inspect the Filter Housing and Element
Once you have identified the probable contaminant class, go directly to the relevant filter stage. A thorough inspection covers four areas:
2a. Check the Differential Pressure (DP)
A differential pressure gauge across the filter housing is the most direct indicator of element condition. A DP reading above the manufacturer's recommended change-out threshold (typically 0.35–0.5 bar for coalescing elements) confirms the element is loaded. However, a low DP reading does not confirm the element is performing — it may indicate bypass or channelling.
2b. Remove and Examine the Element
With the system safely depressurised and isolated, remove the filter element and examine it carefully:
- Colour and staining: Brown or black staining on a coalescing element indicates oil saturation. Grey or white deposits suggest particulate loading. Yellow or orange discolouration may indicate chemical contamination.
- Physical integrity: Check for tears, deformation, or collapse of the element media. A collapsed element has lost its filtration geometry entirely.
- End-cap condition: Inspect the end-caps and sealing surfaces for cracks, distortion, or O-ring damage. A failed end-cap seal is a direct bypass path.
- Drain function: For coalescing elements, check that the automatic drain (if fitted) is operating correctly. A blocked drain causes liquid re-entrainment.
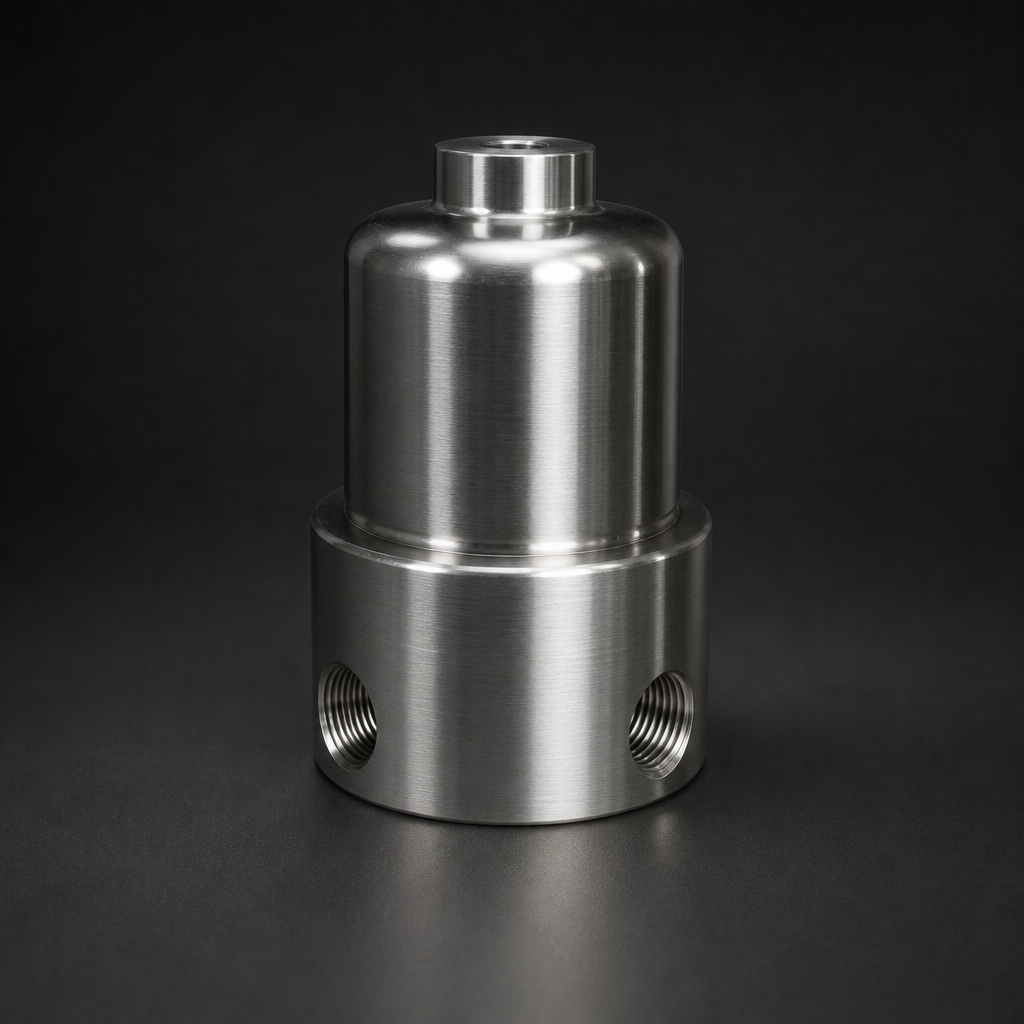
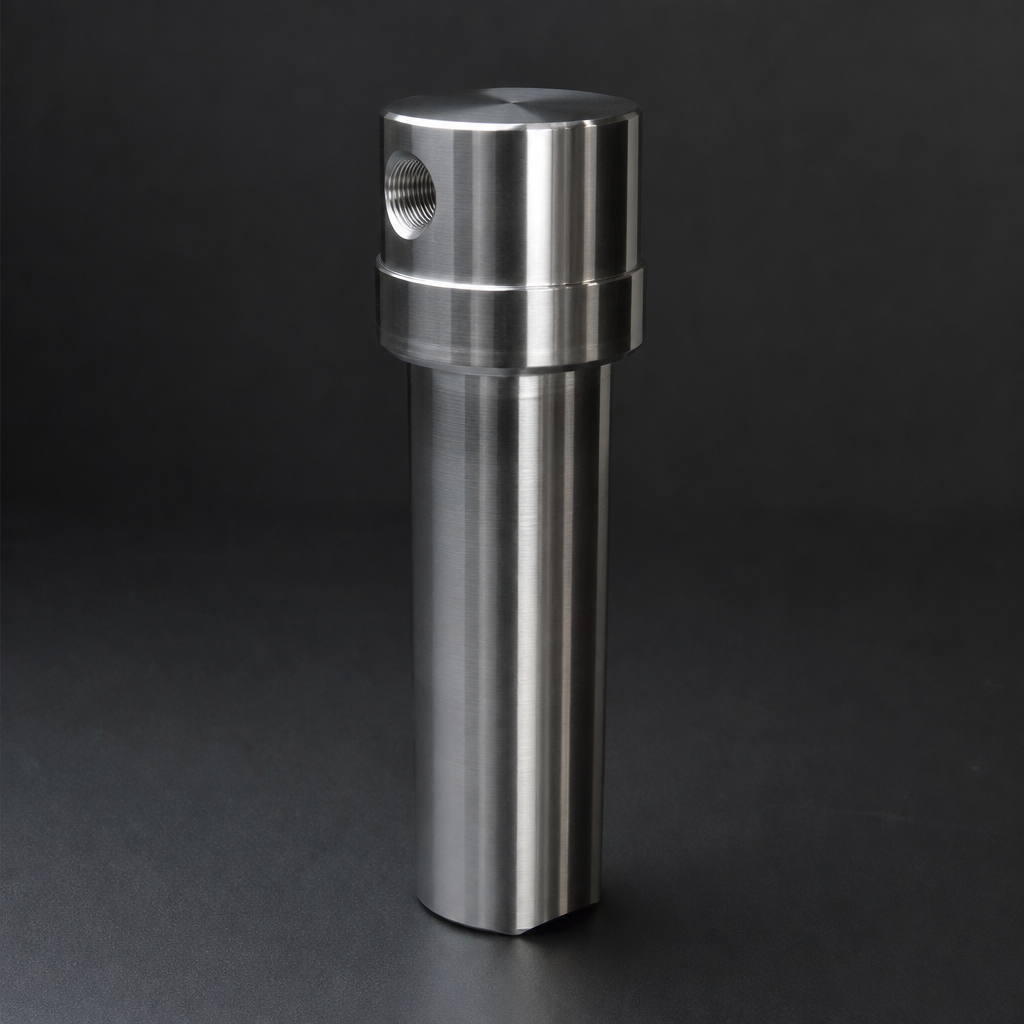
R+F FilterElements offers replacement coalescing elements in the RF-C series and particulate elements in the RF-P series, both available in standard and high-temperature S-type variants. For process gas applications, the RF-H-150 housing accepts RF-C elements rated to 100 bar and 200 °C (S-type).
Need help selecting the right filter?
Step 3 — Analyse the Contamination Evidence
The removed element and any collected liquid from the housing sump provide direct evidence of what has been passing downstream. Consider sending a liquid sample for laboratory analysis if the contamination source is unclear — oil type identification can confirm whether the source is the compressor lubricant, a process fluid, or an external ingress.
Use our free Engineering Tool to get a filtration recommendation for your specific application in under 2 minutes.
Step 4 — Trace Back to the Root Cause
Element inspection tells you what failed. Root cause analysis tells you why. The most common underlying causes are:
Incorrect Element Selection
If the element grade does not match the contamination challenge — for example, a particulate-only element installed upstream of an analyser that requires hydrocarbon removal — the filter will pass the target contaminant regardless of its condition. Review the coalescing vs particulate element selection guide to confirm the correct grade for each stage.
Overdue Replacement Interval
Many sites operate on fixed calendar-based replacement schedules that do not account for actual contamination load. A compressor running at higher-than-design oil carryover will saturate a coalescing element in weeks rather than months. Switching to DP-based change-out — replacing when the differential pressure reaches the threshold rather than on a fixed date — prevents saturation-driven bypass.
Seal Material Mismatch
NBR seals are rated to 100 °C and are incompatible with many process gases including hydrogen and certain hydrocarbons. FKM/Viton seals extend the rating to 200 °C and offer broader chemical resistance. PTFE seals are required for aggressive chemistries up to 260 °C. A seal failure in a process gas application can be traced directly to material selection — check the instrumentation filter range for correct seal options.
Missing Adsorption Stage
Analyser drift is frequently caused by hydrocarbon vapour that passes through both particulate and coalescing stages unimpeded — because neither stage is designed to remove vapour-phase contamination. An adsorption stage using activated carbon (RF-AC elements or RF-DIA disposable inline adsorbers) is required downstream of the coalescing stage to achieve the hydrocarbon levels demanded by most process analysers.
Step 5 — Rebuild the Filtration Train Correctly
Once the root cause is confirmed, rebuild the filtration train to address it. A correctly specified train for a process gas analyser application typically follows this sequence:
- Pre-filter particulate stage — removes bulk solid contamination and protects the coalescing element
- Coalescing stage — removes liquid aerosols and sub-micron oil mist (RF-C elements, 99.99% efficiency ≥ 0.1 µm)
- Adsorption stage — removes hydrocarbon vapour and odour (RF-AC or RF-DIA)
- Final particulate stage — point-of-use protection immediately upstream of the instrument
For high-pressure process gas lines, the RF-H-150 and RF-H-160 housings are rated to 100 bar and 250 bar respectively, accepting the full range of RF-C and RF-P elements. For sample conditioning and analyser protection at pressures up to 400 bar, the RF-H-170 is the appropriate choice. See the ISO 8573-1 purity class guide to confirm the target cleanliness level for your application.
Preventing Recurrence
A root cause investigation is only valuable if it leads to a permanent corrective action. The most effective preventive measures are:
- Install DP gauges across every filter stage and define written change-out criteria
- Specify element grades in writing on the maintenance schedule — not just housing model numbers
- Conduct an annual filtration audit against the relevant ISO 8573-1 purity class for each application
- Use the R+F Engineering Sizing Tool to verify that each filter stage is correctly sized for the actual flow rate and contamination load
- Bypass due to seal degradation:
- Before opening any filter housing, correlate the downstream symptom with the most likely contaminant class.
- Once you have identified the probable contaminant class, go directly to the relevant filter stage.
- The removed element and any collected liquid from the housing sump provide direct evidence of what has been passing downstream.
Related Reading
- Coalescing vs Particulate Filter Elements — Which Do You Need?
- ISO 8573-1 Compressed Air Quality Classes Explained
- Filtration Requirements for Hydrogen Electrolysis Systems
Try our Engineering Sizing Tool → or discuss your requirements with our team.